Blog

When your car's A/C gives up in the middle of a sweltering Malaysian afternoon, getting it fixed isn't just a matter of comfort—it's a priority. To repair your auto air conditioner right the first time, you need a solid grasp of how it all works. This guide will walk you through the whole process, from figuring out what's wrong to making sure it's blowing ice-cold again.
Think of your car’s air conditioning as a clever heat-moving machine. It’s a sealed system that uses a special refrigerant to pull heat out of your car's cabin and dump it outside. It does this by constantly changing the refrigerant between a liquid and a gas, creating that cool, refreshing breeze we all rely on.
This whole operation is a continuous cycle, a delicate dance of pressure and temperature changes managed by a few key components working together perfectly.
To have any chance of diagnosing and fixing an A/C problem, you first need to know what each part does. Every component has a specific job in the cooling cycle.
Ever noticed a small puddle of water under your car after running the air-con? That's a good sign! It's just condensation dripping from the cold evaporator as it pulls moisture out of the cabin air. It means the system is doing its job properly.
When you're looking at a used car, its history can tell you a lot about the potential future of its A/C system. A major accident, for instance, could have caused hidden damage to A/C lines, the condenser, or even the mounting brackets. This kind of damage can lead to stubborn leaks and expensive repairs later on.
This is exactly why a thorough background check is so important. Before you even think about buying, remember to SCRUT First!
How to SCRUT?
In Malaysia's climate, a working air conditioner isn't a luxury; it's an absolute must. Local service centres often report that 35% to 40% of all their maintenance work is A/C-related, making it one of the most frequent repairs they handle. This just goes to show how vital it is to make sure the system is in good shape right from the start.
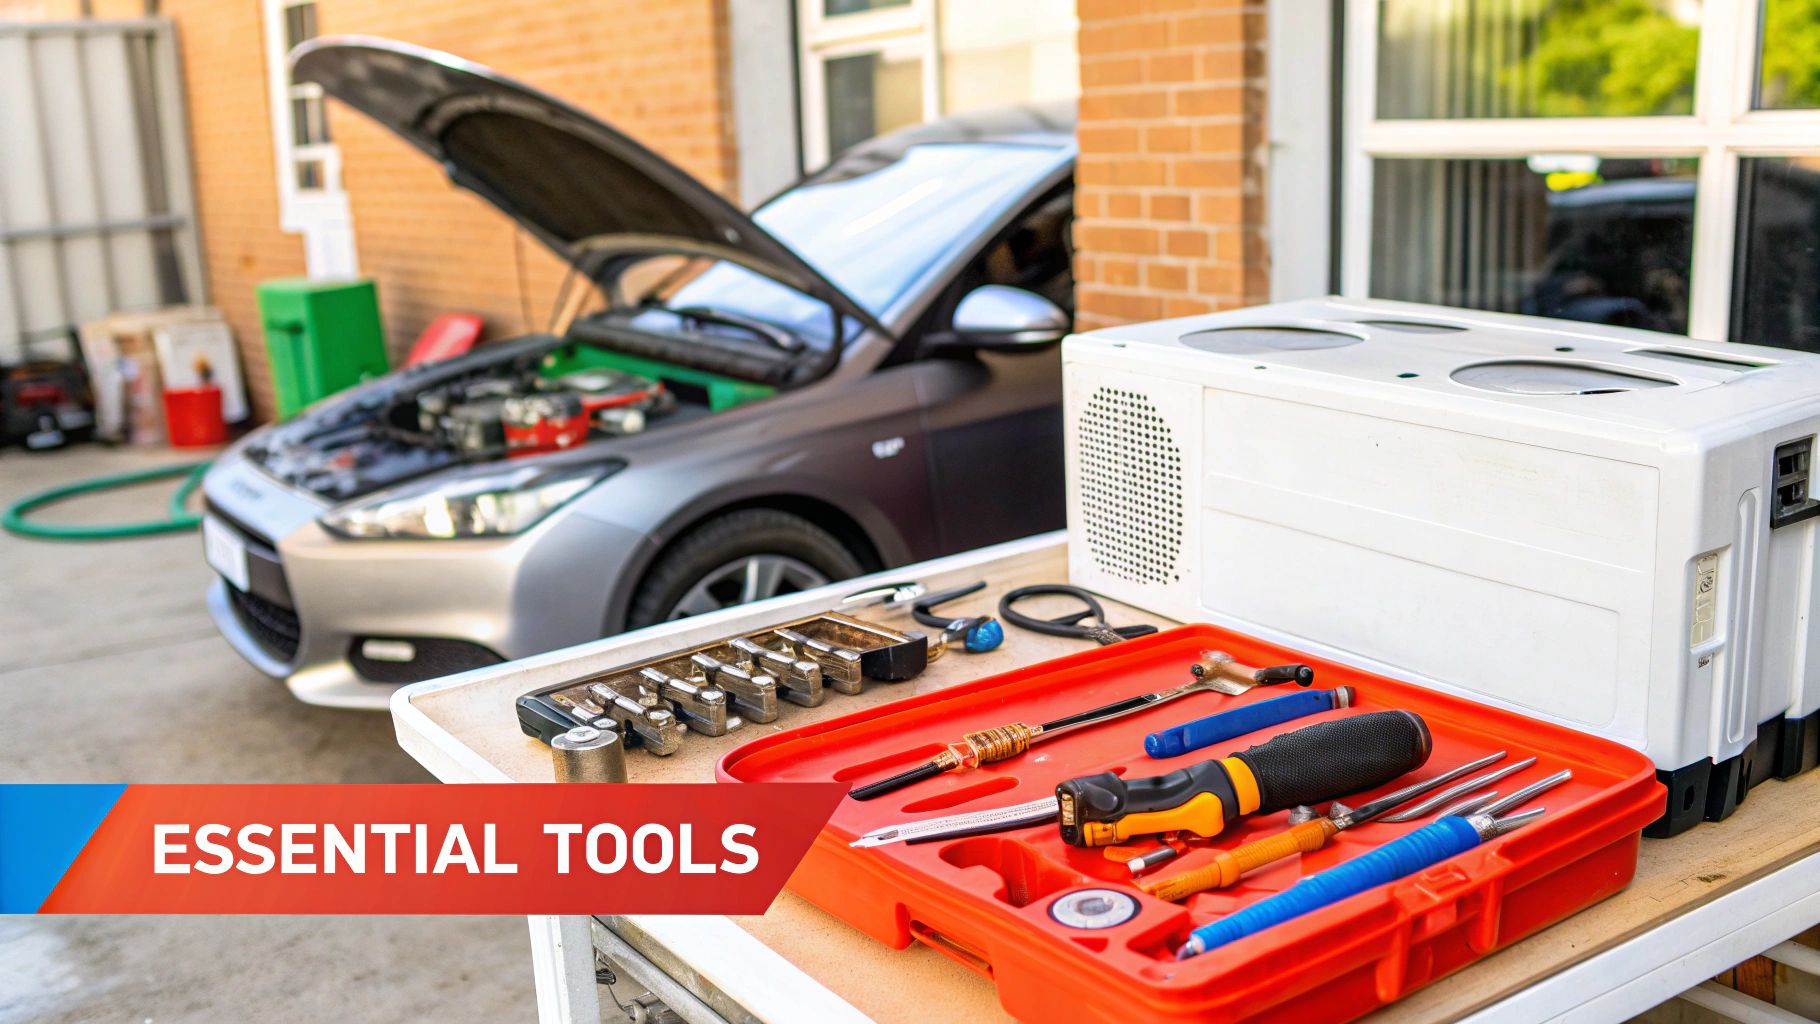
Trying to fix a car's air conditioning system without the proper gear is a recipe for disaster. Think of it like trying to perform surgery with kitchen utensils – you’re not just going to fail, you’re going to make a serious mess. Getting your tools and safety equipment sorted out first isn't just a good idea; it's the only way to do the job right and keep yourself safe.
Remember, you're not just topping up oil here. A/C systems operate under high pressure and contain chemical refrigerants that demand respect. With the right prep, though, you can manage the risks and focus on getting that cold air blowing again.
Your trusty socket set and screwdrivers will only get you so far. To properly get into an A/C system, you need a few specialist tools. These aren't optional extras; they're the absolute must-haves for accurate diagnosis and repair.
Here's what you'll need to have on hand:
With these tools, you stop guessing and start diagnosing. You’ll be able to pinpoint the problem with confidence and know exactly how to fix it. It's the difference between a frustrating afternoon and a job well done.
Let's be clear: you're working with a high-pressure system full of a chemical that can cause nasty injuries. Direct contact with refrigerant can give you instant frostbite on your skin and cause severe, permanent damage to your eyes. Safety is non-negotiable.
The most important tool in your kit is your own safety. Always wear proper safety goggles and a good pair of gloves. A few seconds putting them on can save you a trip to the A&E.
Your work environment is just as critical. Make sure you're in a well-ventilated area. A garage with the doors wide open is good; working outdoors is even better. Refrigerant gas is heavier than air and can pool in low, enclosed spaces, pushing out the oxygen you need to breathe.
One last thing to consider before you even pop the bonnet is the car's history. A past accident, even a minor one, could have damaged A/C components, creating hidden weak spots. This is another reason why it’s so important to SCRUT First before you even purchase a vehicle.
How to SCRUT?
A quick vehicle history check can flag potential damage to the condenser or its mounting brackets, giving you a head-start on where to look for problems. It’s a simple step that could save you a world of trouble.
Right, so your car's air-con is on the fritz. Before you start ordering parts or getting your hands dirty, the single most important thing you can do is figure out what's actually wrong. A proper diagnosis is the difference between a quick, cheap fix and a long, expensive headache.
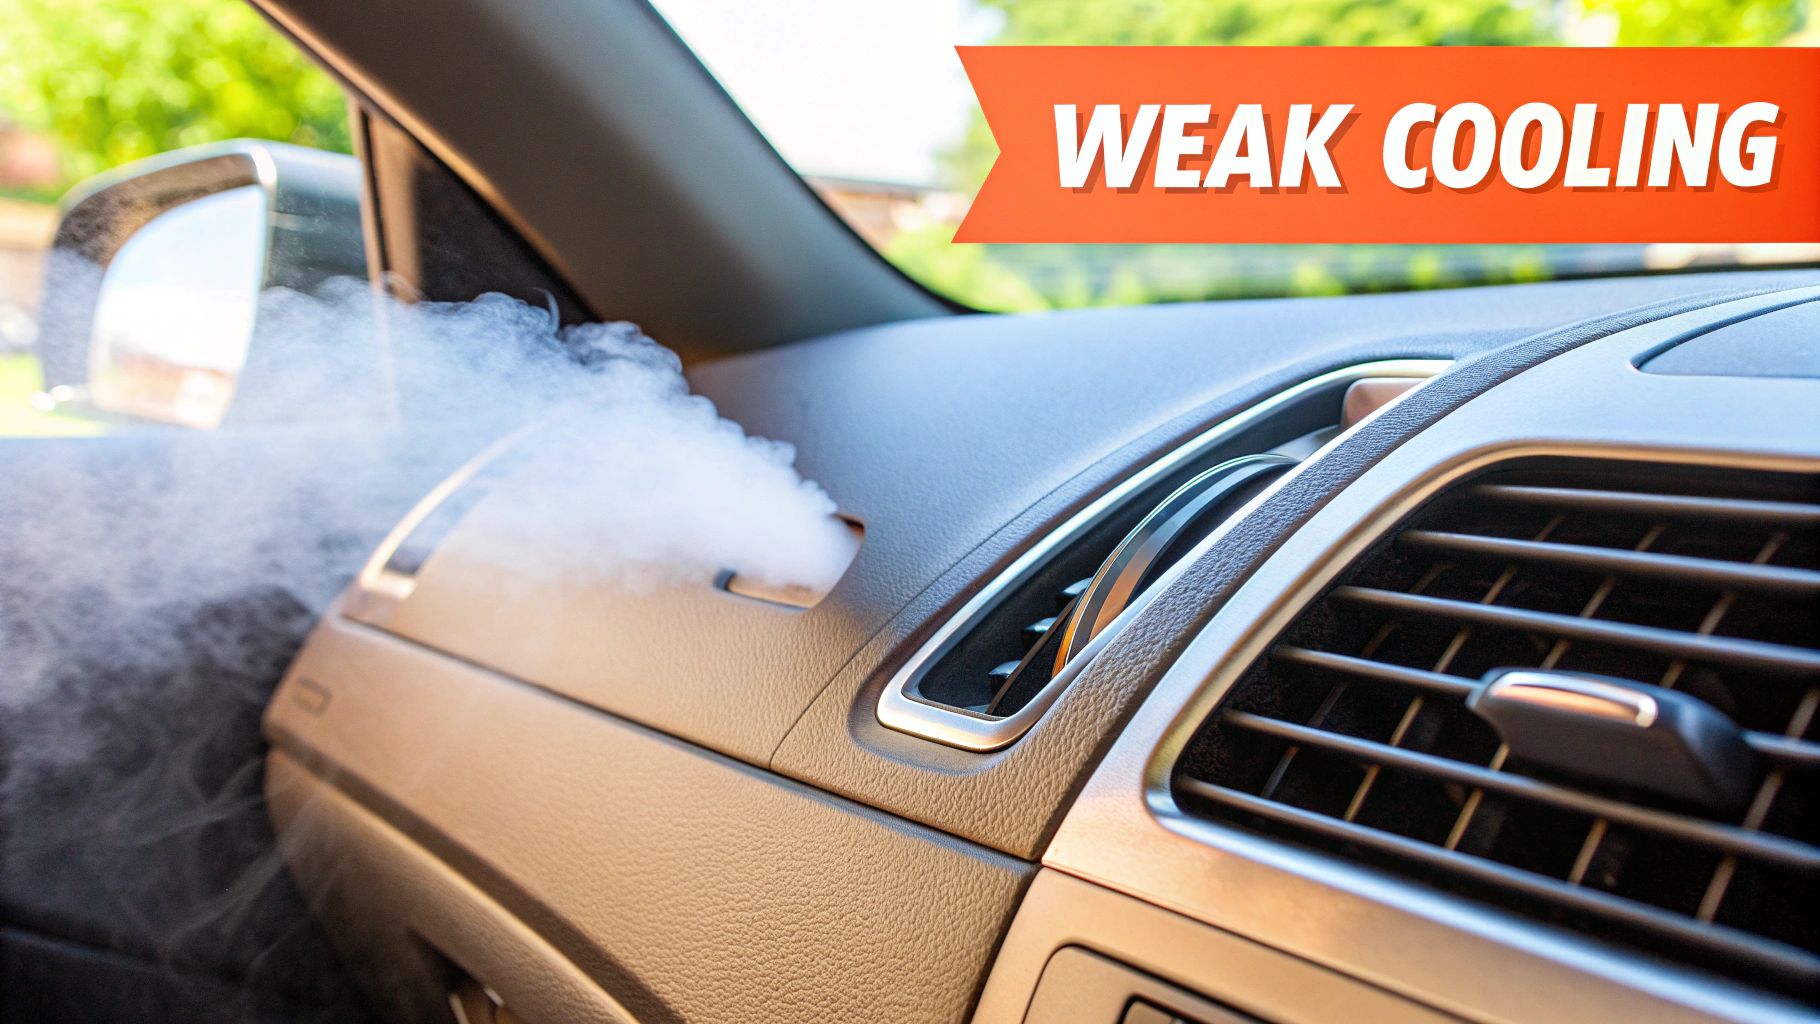
Your car is already giving you clues. Is the air just a bit weak, or is it blowing hot? Are you hearing weird noises when you flick the A/C switch? Paying attention to these symptoms is the first step towards a solution.
Your best diagnostic tools, to begin with, are your own eyes and ears. Pop the bonnet and just have a good look around the A/C components. You don't need to be a seasoned mechanic to spot some of the most common red flags.
A quick visual sweep can tell you a lot. Look for obvious things like a frayed serpentine belt—the one that drives the compressor. Also, check the condenser at the very front of the car; it looks like a thin radiator and can get clogged with leaves and road debris, which stops it from working properly.
If the car has been in a fender-bender before, damage to the condenser is a real possibility. A quick SCRUT report on a used car's history can often highlight past accident damage in that area.
To make things a bit clearer, here’s a quick-glance table to help you connect the symptoms you're experiencing with the most likely culprits.
| Symptom | Possible Cause | Next Diagnostic Step |
|---|---|---|
| Air is not cold at all | Low refrigerant, compressor not engaging, blown fuse. | Check gauge pressures, visually inspect compressor clutch. |
| Air is cool, but not cold | Slightly low on refrigerant, clogged cabin air filter. | Check low-side pressure, inspect/replace the cabin air filter. |
| A/C works intermittently | System is freezing up, faulty pressure switch. | Check for ice on A/C lines, test pressure switches. |
| Grinding or squealing noise | Failing compressor clutch or bearing. | Listen closely to the compressor when the A/C is turned on. |
| Musty smell from vents | Mould/bacteria on the evaporator core. | Use an A/C system cleaner, replace the cabin air filter. |
This table isn't exhaustive, but it's a fantastic starting point for narrowing down the problem before you pull out the heavy-duty tools.
To really understand what's going on, you need a manifold gauge set. This is the professional's tool of choice, and it measures the pressure on both the low-pressure (blue hose) and high-pressure (red hose) sides of the system. These readings are like a health check-up for your A/C.
Connecting the gauges is easy enough. With the engine off, find the A/C service ports—they’ll have caps on them and are different sizes so you can't mix them up. Snap on the correct couplers, start the engine, and crank the A/C to max cool with the fan on full blast.
Key Takeaway: If both the low and high-side pressures are low, you've almost certainly got a refrigerant leak. On the flip side, if both are unusually high, the system might be overcharged or the condenser isn't getting enough airflow to cool down.
Learning to read the gauges is a skill, but some signs are obvious. A wildly bouncing needle can mean air has gotten into the system, while a low-side reading that plummets into a vacuum points to a blockage, often at the expansion valve. If you want to dive deeper into why your cooling might be weak, our guide on the common causes of poor A/C performance is a great next read.
Your eyes can often confirm what the gauges are suggesting. Refrigerant leaks are the number one cause of A/C failure, and you can often spot the evidence yourself.
The refrigerant has a special oil mixed in with it. When the system leaks, this oil escapes and creates a greasy, dirty mess right at the source of the leak. Carefully inspect all the hose fittings, the seals on the compressor, and the front face of the condenser for any oily, grimy patches.
Another crucial visual check is the compressor clutch. With the engine running and the A/C on, look at the pulley on the front of the compressor. The very centre of it should be spinning along with the outer pulley. If the outer part is spinning but the centre hub is still, the clutch isn't engaging. This is almost always an electrical issue—could be a blown fuse, a bad relay, or the system is too low on refrigerant and the pressure switch is preventing it from turning on.
Before buying any used car, it’s always smart to check its past. Make sure you SCRUT First!
How to SCRUT?
By combining what you can hear and see with the data from a set of gauges, you build a complete picture. This methodical approach is how you fix the real problem instead of just throwing parts at the symptoms.
If your car’s A/C is suddenly blowing warm air, chances are you’ve got a refrigerant leak. This is a really common problem, especially here in Malaysia where the intense heat and humidity are constantly working against every seal and hose in the system. Before you can fix anything, you have to play detective and track down exactly where that refrigerant is escaping.
Thankfully, you don't have to guess. There are a few tried-and-true methods for this, from simple visual checks to some pretty high-tech gadgets. I always say, start with the easiest one first—it might just save you a lot of time and hassle.
The old-school soap and water test is often the quickest way to find a bigger leak. It’s low-tech, sure, but it's surprisingly effective for spotting leaks at connection points you can easily get to, like the service ports or where the hoses meet the compressor.
Just mix some dish soap with water in a spray bottle—you want it nice and bubbly. With the A/C running, give any spot you suspect a good spray. If refrigerant is escaping, you’ll see bubbles start to form right away. It's a dead giveaway.
Pro Tip: Before you even mix up your soapy water, have a good look around the A/C lines and fittings for any oily, greasy residue. Refrigerant circulates with a special lubricant, so a leak almost always leaves a tell-tale oily patch that attracts dirt and grime. Spotting that is often your first and best clue.
What about those sneaky, smaller leaks that the soap test won't catch? That's where a UV dye kit becomes your best friend. This method involves injecting a small amount of a special fluorescent dye into the A/C system, which then travels along with the refrigerant.
After adding the dye, you'll want to run the engine with the A/C on max for at least 15-20 minutes. This gives the dye enough time to circulate properly through the entire system. Next, grab the UV blacklight that comes with the kit, head into a dim garage, and start inspecting all the A/C components.
Anywhere the dye has seeped out will glow with a bright, unmistakable greenish-yellow light. It’s a brilliant way to find those tiny cracks in hoses or slow leaks from seals that you’d never see otherwise.
For ultimate precision, nothing beats an electronic leak detector. These handheld "sniffers" are incredibly sensitive and can pick up the tiniest traces of refrigerant gas in the air. This is the tool you pull out to find leaks that are too small for even the UV dye to show clearly.
To use it properly, switch it on and let it calibrate in fresh air, away from the car. Then, with the A/C on, you’ll methodically and slowly pass the probe’s tip around every single joint, seal, and connection. As you get closer to a leak, the device will start beeping, with the beeps getting faster and higher-pitched the nearer you are. It’s a very precise way to confirm a leak’s exact location before you start taking things apart.
Sometimes, though, the problem isn't a leak at all. If you're chasing A/C gremlins, you might find our article on troubleshooting electrical problems in car A/C systems useful.
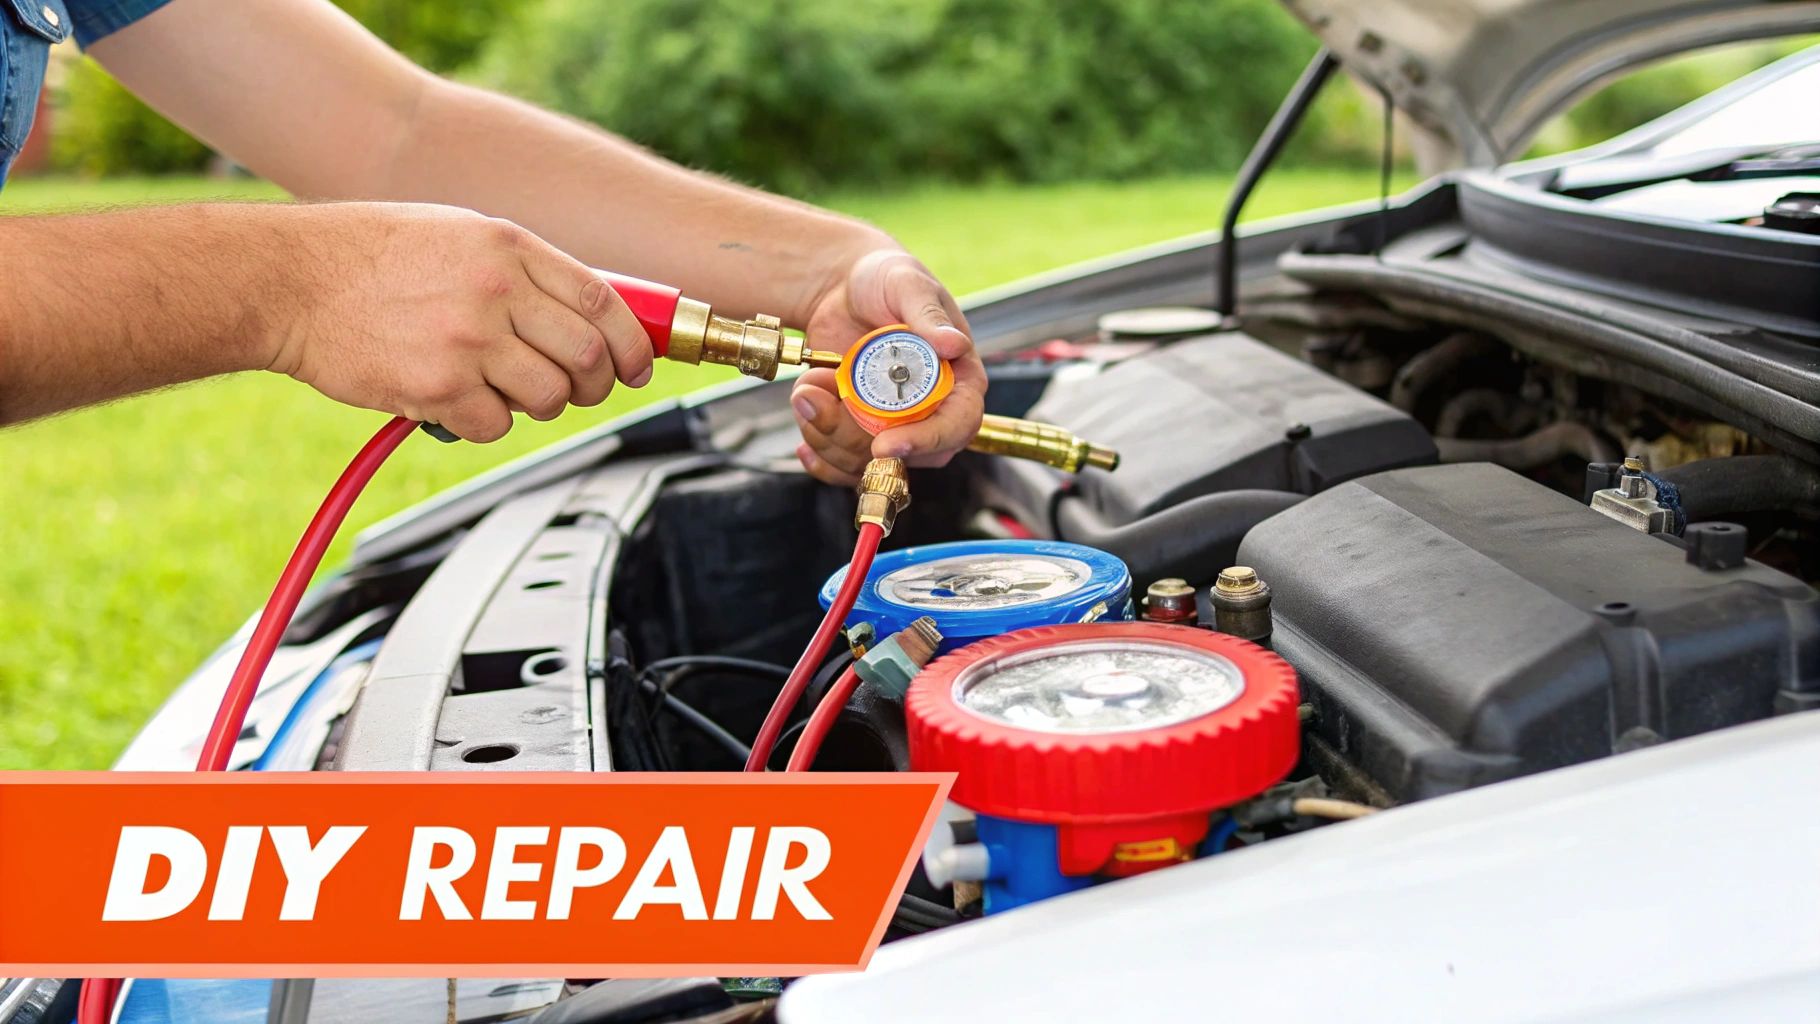
The image below gives a basic overview of the steps once a system is confirmed to be leak-free and you're ready to recharge it.
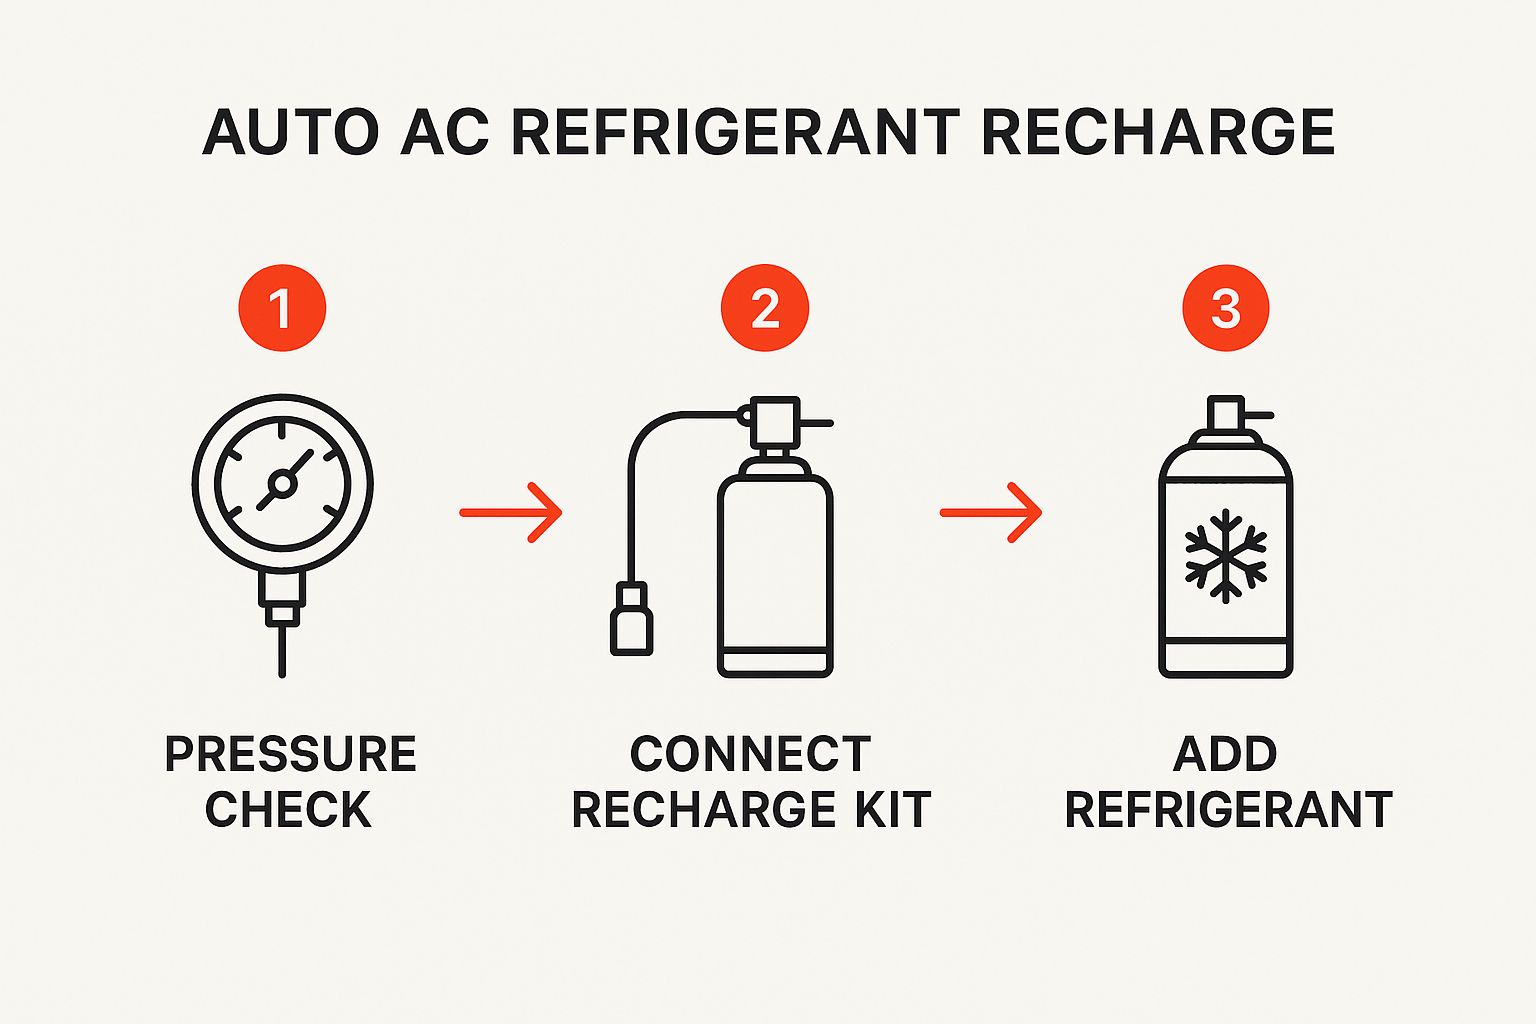
This visual guide simplifies the recharge process, showing the importance of checking pressures, connecting the kit the right way, and adding the correct amount of refrigerant.
Once you’ve nailed down the source of the leak, the fix is usually quite straightforward. More often than not, the culprits are the small rubber O-rings and seals that sit at every connection point in the system.
Here’s a quick rundown of the repair process:
Alright, you've figured out what’s broken. Now comes the hands-on part: swapping out the faulty component and getting the system back in action. Replacing something major like a compressor might seem like a huge job, but it's really about being methodical. This is where your attention to detail is non-negotiable—a single missed step can ruin all your hard work.
Remember, you can't just swap the old part for a new one and call it a day. To properly repair your auto air conditioner, there's a strict sequence you have to follow: evacuate, replace, vacuum, and then recharge. This is the only way to make sure the system is completely clean, dry, and filled with the exact amount of refrigerant needed to blow cold again.
Before you even think about putting a wrench on a fitting, you absolutely must get the old refrigerant out. It’s illegal to just let it vent into the air, not to mention incredibly harmful to the environment. This job requires a specialised refrigerant recovery machine that safely pumps the old gas out and stores it.
If you don't own one of these machines (and most DIYers don't), this is your cue to head to a certified A/C workshop. They can recover the refrigerant for you. Once the system is empty and depressurised, you can safely take your car home and handle the component replacement yourself.
With the system completely empty, you're clear to start the replacement. The exact steps will change depending on your car's make and model, but the general game plan for common parts is pretty consistent.
Crucial Tip: Any time you replace a major component like the compressor, you must also replace the receiver/drier (or accumulator). This little part is filled with a desiccant that pulls moisture out of the system. The moment it's exposed to the air, it's basically saturated and useless. Skipping this is a classic mistake that will cause your brand-new parts to fail prematurely.
Once the new part is in and all the lines are securely reconnected, the system is now full of air and moisture from the atmosphere. These are the two biggest enemies of an A/C system. Moisture can react with refrigerant to create corrosive acid, while air just gets in the way and kills cooling performance.
This is where your vacuum pump earns its keep. Hook up your manifold gauge set and the pump, and let it run. The goal is to "pull a vacuum," which essentially sucks every last bit of air and moisture out. You need to let the pump run for a solid 30-45 minutes to ensure all the moisture has boiled away and been removed.
When the time is up, close the valves on your gauges and switch off the pump. Now, wait. Let the system sit for another 30 minutes and keep a close eye on that low-side gauge. If the needle doesn't move, you've got a tight, leak-free system. If it starts to creep up, you've still got a leak somewhere that needs fixing before you can move on.
The final hurdle is refilling the system with the correct type and amount of refrigerant and oil. You can almost always find this info on a sticker under the bonnet—it'll specify the refrigerant (like R-134a or R-1234yf) and the precise charge weight in grams or kilograms.
Using a digital scale is the only way to get this right.
This entire process underscores why having a dependable car is so crucial, particularly if you're driving a reconditioned vehicle. Understanding what the different grades mean for the lifespan of components is vital. You can learn more about this in our guide covering the different grades of reconditioned cars.
A reliable A/C isn't a luxury; it's a major factor in driver comfort. In fact, surveys have shown that 65% of Malaysian drivers noticed their A/C performance dropped off over five years, forcing more frequent repairs to handle our hot weather. You can discover more insights about the automotive HVAC market to understand these consumer trends. By following these steps carefully, you can make sure your repair holds up for the long haul.
Alright, you've done the hard graft. But don't pack up your tools just yet. The final, and arguably most important, step is to verify your repair actually worked. A few quick checks now will save you a lot of sweat and frustration down the road.
First things first, fire up the engine. Crank the A/C to the coldest setting and put the fan on full blast. Now, grab a digital thermometer and stick it right into one of the centre air vents. Give it a few minutes to settle, and what you're hoping to see is a temperature reading dropping into the single digits Celsius. That's a good sign of a happy system.
With the A/C still running, it's time to hook up your manifold gauges again. You're looking for stable pressures that fall within the manufacturer's specified range for the current outside temperature. Keep a close eye on those needles – any wild bouncing or erratic movement is a red flag that something is still amiss. It's also a good idea to just listen. Is the compressor making any new, nasty grinding or squealing sounds?
Being a good DIY mechanic isn't just about knowing how to fix things; it's also about knowing when not to. Some A/C problems are genuine head-scratchers that need professional-grade equipment and years of experience to solve. Pushing your luck can easily turn a small issue into a massive, wallet-emptying disaster.
The smartest mechanic I know is the one who isn't afraid to admit a job is over their head. That's not failure; that's wisdom.
If you're chasing down a tricky electrical problem, like a faulty control module or a phantom short in the wiring harness, you're likely going to need advanced scan tools to see what's really going on. Another classic "call a pro" scenario is a suspected internal compressor failure. That's a big job, and it’s not one you want to get wrong.
When you hit a wall like this, it’s time to seek out an expert auto air conditioning service. There's no shame in it. Getting a professional to handle the really complex stuff ensures the job is done properly and your car stays cool.
When it comes to fixing your car's A/C, a few questions always pop up. Let's clear the air on some of the most common ones so you can get started with confidence.
It's a good habit to get your car's air conditioning system looked at by a professional every one to two years. Think of it as preventative medicine for your car.
Especially in a climate as demanding as Malaysia's, a regular check-up can spot things like slowly failing seals or low refrigerant before they turn into a full-blown, expensive breakdown on a hot day.
This is a big one. While those cans you see at the auto parts shop seem like an easy, cheap fix, they often cause more harm than good. They just dump more refrigerant into a system that almost certainly has a leak, which is why it was low in the first place.
Worse still, many of these kits contain "stop-leak" sealants. These gooey additives can clog up delicate and crucial components like the expansion valve or condenser, turning a simple leak repair into a major and costly system replacement down the road.
The right way to do it is to find and fix the leak, pull a deep vacuum on the system to boil off all moisture and contaminants, and only then add a precise, factory-specified amount of refrigerant. A simple can just can't do any of that.
These are the two main refrigerants you'll see. R-134a is the old-school standard found in cars made before the mid-2010s, while R-1234yf is the newer, more environmentally friendly gas used in most modern vehicles.
The most important thing to know is that they are not interchangeable. Putting the wrong type in will cause serious, potentially catastrophic damage to your A/C system's components and lubricant. Always double-check the sticker under your bonnet to see exactly which refrigerant your car needs.
Remember to SCRUT First before you buy any car!
How to SCRUT?
You must be logged in to post a comment.